Root Cellars Building Tips
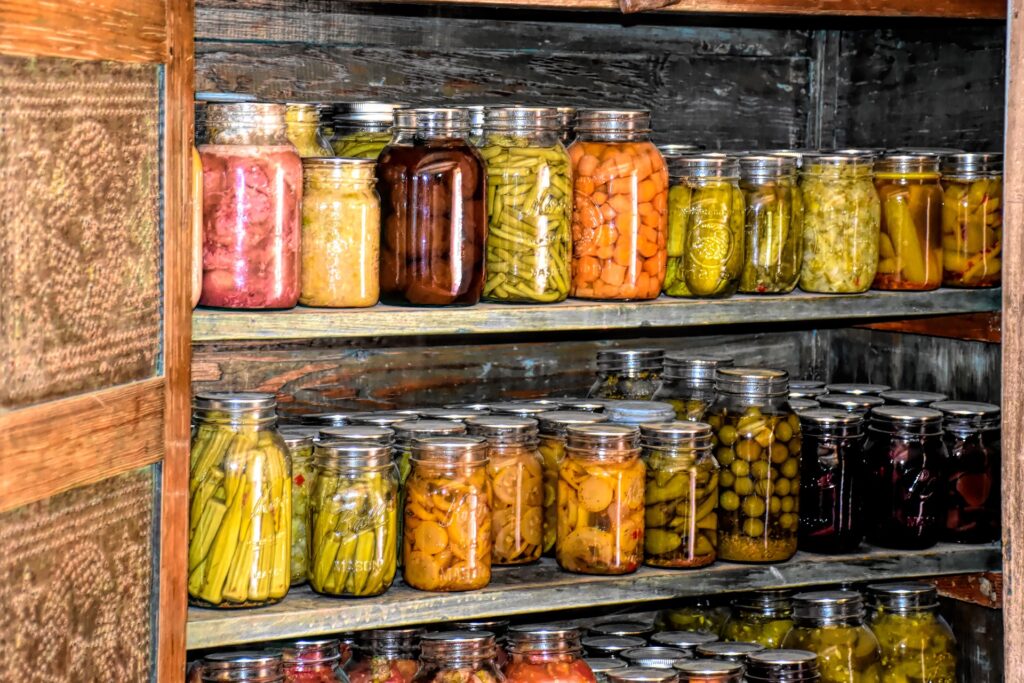
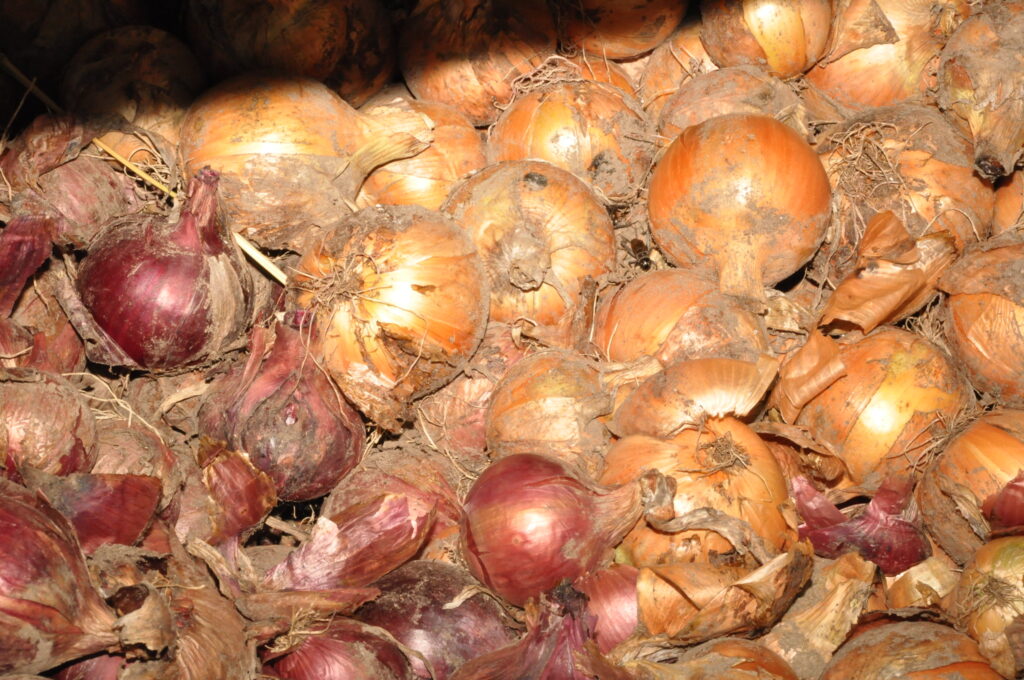
In the days when fresh food wasn’t accessible year-round in stores, a root cellar was an integral element of every home. The root cellar was also the most haunted place in most old houses. A root cellar is still a simple, low-cost, and appealing method to store root crops, winter squash, and other cultivated goods.
Even if you live in a modern home, you might have a root cellar. The following are basic designs for converting a corner of your basement into a root cellar with minimal know-how and widely available materials.
Choose a damp spot. Most crops keep best in relatively high humidity. So build your root cellar in the dampest area of your basement (typically the sump pump is in the dampest corner).
Next to an exterior wall. You want to construct on a wall that is below grade (underground) if feasible, since you want as much interaction with the outside soil temperature as possible. If you must utilize an above-ground wall, be sure it does not receive too much sunlight. (Use north or shaded walls.)
Steps in building a root cellar
Allow for ventilation
Your stored product will rot if it is not ventilated. To generate enough ventilation, run two pipes through the outer wall, one at the highest point of the chamber. Both pipes should have a diameter of roughly 9 cm (3,5 inches). Choose a place that makes this easy, such as one with a casement window or something similar.
Your vents can be formed of almost any pipe or ducting. Plastic (PVC) is strong and easy to work with, and the valves you’ll need fit right in. Cut a length of plastic pipe to reach through the wall. Straighten out the end. Slide a closed blast valve onto the pipe until it fits tightly against the end of the pipe, just tight enough to impart a tiny resistance. To fasten the valve to the pipe, use three or four screws.
Now, cut pipe pieces for the other vent. This one can go through almost any wall; simply add an elbow and a piece of pipe going down the inside to approximately a foot from the floor. In that pipe, add another blast gate.
A siphon is formed by these two vents. Cool air is denser than warm air and will settle in low areas. The siphon will allow heat to be sucked out and cool air to flow in whenever the air outside your root cellar is cooler than the air within. As the outside temperature changes, you’ll experience nearly continual air change while maintaining the temperature as low as possible.
This takes us to the purpose of the valves. If the outside temperature drops below freezing, shut one of the valves to stop the siphon. You’ll be able to vent while still protecting items from freezing. If the outdoor temperature drops below freezing, you must close both valves (at least partially).
Aerosol insulating foam should be used to seal the wall surrounding the pipes. This will fill up any gaps and cracks and, once set, will help to keep your pipes in place.
Build the walls
You could make the walls out of almost anything, but owing to the damp environment, you should spend on a few 2X4s made of cedar or other rot-resistant wood for framing, as well as some moisture-resistant wall board (“green board” sold for use in shower stalls).
Nail a 2X4 to the ceiling, another to the concrete floor using a bead of construction glue (the sort used in caulking gun tubes), and trim the studs to fit between them.
Cover the walls
Put your gypsum board on the inside surfaces first. Fill the voids with fiberglass insulation and cover the outsides after the interior panels have been bonded and fastened in place. With all of the covers in place, reapply the spray foam to all of the cracks, paying careful attention to the spaces between your new wall and the (likely) ragged edges of the old walls.
Although a root cellar does not have to be airtight, the tighter it is, the more control you will have over the air quality and temperature. Fill in as many spaces as possible.
Add the shelves
Keep in mind that lower shelves are cooler and wetter, while higher shelves are warmer and dryer. Arrange and position your shelves to accommodate the goods that will be kept on them.
Install the door
If you like, you may utilize a ready-made door. You could also create it out of plywood and hang it straight on the studs. One customization option is to make the door in two sections. This way, you may open the top part of the root cellar and retrieve a couple carrots without letting out the coldest, dampest air at the bottom.
Finishing touch
Attach a rod to the handle of each blast gate and run it through the wall into the basement. This allows you to open and close the valves without opening the door and leaking the cool air. It will also allow you to observe if the valves are open or closed without having to open the door.